Keeping your PC clean is essential for better performance, longer lifespan, and improved cooling. Dust buildup can cause overheating, loud fans, and even hardware failure over time. Regular cleaning ensures your computer runs efficiently and stays in top condition.
This guide will walk you through the best methods, tools, and precautions for safely cleaning your PC components.
1. How Often Should You Clean Your PC?
The frequency of cleaning depends on your environment and usage.
✅ Recommended Cleaning Schedule:
✔ Every 1–2 months: Light dusting of external parts and fans.
✔ Every 3–6 months: Deep cleaning of internal components.
✔ Annually: Full disassembly and deep cleaning (if needed).
If your PC is in a dusty environment or has pets nearby, clean it more frequently to prevent clogging.
2. Tools You’ll Need for Cleaning
Using the right tools prevents damage and makes the cleaning process more effective.
✅ Essential Cleaning Tools:
✔ Compressed Air Canister – Safely removes dust from hard-to-reach areas.
✔ Soft Bristle Brush – Loosens dust from delicate components.
✔ Microfiber Cloth – Wipes surfaces without scratching.
✔ Isopropyl Alcohol (90% or higher) – Cleans thermal paste and removes grime.
✔ Cotton Swabs – Helps clean small or tight areas.
✔ Anti-Static Wrist Strap (Optional) – Prevents static electricity damage.
Avoid using vacuum cleaners, as they can create static electricity and damage components.
3. Preparing to Clean Your PC
Before starting, make sure to power down and unplug your computer.
✅ Steps Before Cleaning:
✔ Turn off and unplug your PC.
✔ Move your PC to a well-ventilated area (preferably outside to avoid dust spreading indoors).
✔ Ground yourself to prevent static damage.
4. Cleaning External PC Parts
Start by cleaning the outside of your case, keyboard, and monitor.
✅ How to Clean the PC Case:
✔ Use a microfiber cloth to wipe the case exterior.
✔ Remove dust from vents and front panel filters using compressed air or a brush.
✅ How to Clean the Keyboard and Mouse:
✔ Use compressed air to remove dust from between the keys.
✔ Wipe the surface with a microfiber cloth and isopropyl alcohol.
✅ How to Clean the Monitor:
✔ Use a screen-safe microfiber cloth to wipe dust.
✔ Apply a small amount of screen cleaner for smudges.
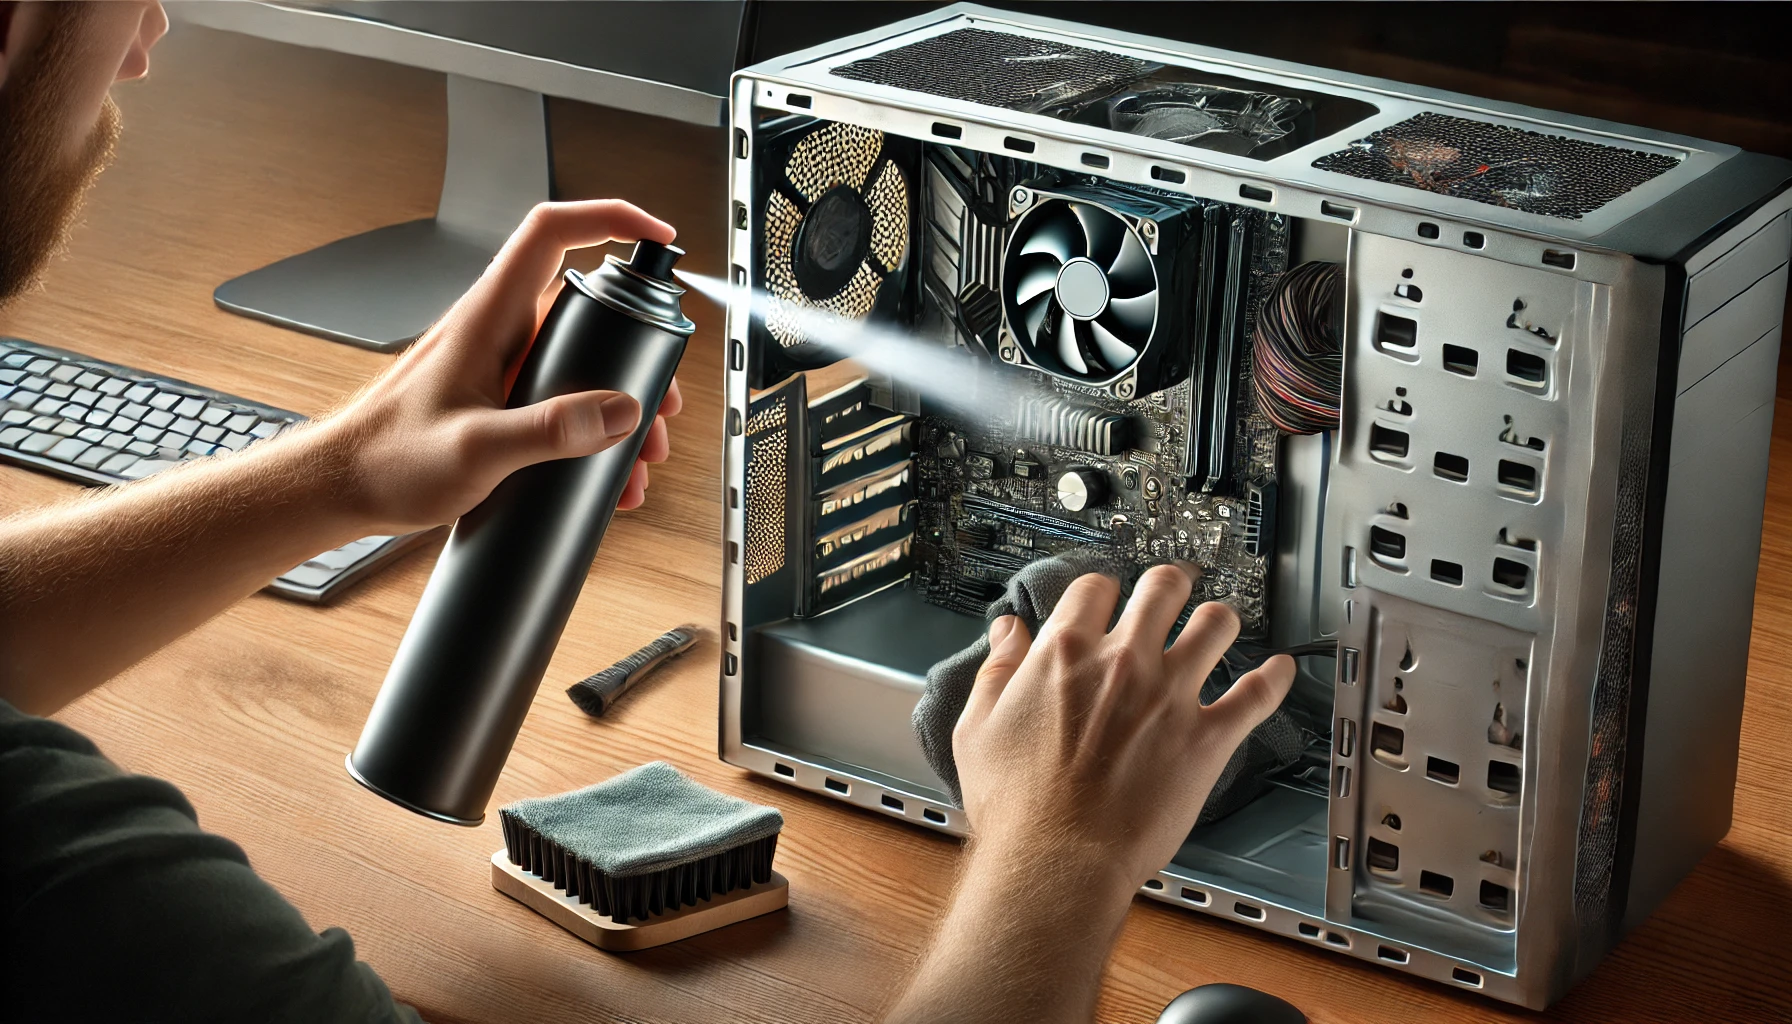
5. Cleaning Internal PC Components
Now, let’s move on to the internal hardware for a deeper clean.
How to Clean Case Fans
Fans collect dust quickly, reducing airflow.
✅ Steps to Clean Fans:
✔ Hold the fan blades in place and use compressed air to blow out dust.
✔ Use a brush or cotton swab dipped in isopropyl alcohol to clean stubborn dust.
✔ For heavily clogged fans, remove them for a thorough wipe-down.
How to Clean the CPU and GPU Fans
Dust buildup on coolers and heatsinks can cause overheating.
✅ Steps to Clean the CPU and GPU Coolers:
✔ Blow out dust using compressed air (hold the fan still to avoid spinning).
✔ If necessary, remove the heatsink and clean the fan blades with a brush.
✔ Replace thermal paste if the old paste looks dry or cracked.
How to Clean the Graphics Card (GPU)
✅ Steps to Clean a GPU:
✔ Remove the GPU from the PCIe slot.
✔ Use compressed air to clean the heatsink and fans.
✔ If dust is trapped inside, remove the fan shroud for a deeper clean.
For liquid-cooled GPUs, check and clean the radiator and fan filters as well.
How to Clean the Motherboard and RAM
✅ Steps to Clean the Motherboard and RAM:
✔ Use compressed air to remove dust from the motherboard.
✔ For deeper cleaning, gently wipe with a microfiber cloth.
✔ If RAM slots have dust, use compressed air to clear them.
✔ Remove RAM sticks and wipe the gold contacts with isopropyl alcohol.
How to Clean Storage Drives (SSDs and HDDs)
✅ Steps to Clean Storage Drives:
✔ Dust the top and sides of the drive with a microfiber cloth.
✔ Do not use compressed air directly on SSDs or HDDs, as it may cause internal damage.
6. Cleaning the Power Supply Unit (PSU)
PSUs collect a lot of dust, affecting power delivery and cooling.
✅ Steps to Clean the PSU:
✔ Do NOT open the PSU, as it contains high-voltage components.
✔ Use compressed air from the outside vents to blow out dust.
✔ If removable, clean the PSU dust filter under running water, then let it dry completely.
7. Reassembling and Final Checks
Once all components are clean and dust-free, reassemble your PC.
✅ Before Turning Your PC Back On:
✔ Ensure all cables are securely connected.
✔ Check that RAM and GPU are properly seated.
✔ Verify that all fans spin freely before closing the case.
After cleaning, you should notice cooler temperatures, quieter fans, and improved system performance.
8. Preventing Dust Buildup in Your PC
To keep your PC cleaner for longer, follow these preventative measures.
✅ Tips to Minimize Dust Accumulation:
✔ Use dust filters on case vents.
✔ Keep your PC off the floor to avoid dust intake.
✔ Clean your workspace regularly to reduce airborne dust.
✔ Maintain good airflow with proper fan placement.
Regular maintenance reduces the risk of overheating and improves system longevity.
Conclusion: Keep Your PC Running Like New
Cleaning your PC is an essential task that boosts performance, prevents overheating, and extends hardware lifespan.
✔ Dust external and internal parts regularly for efficient cooling.
✔ Use the right tools (compressed air, microfiber cloth, and brushes) for safe cleaning.
✔ Reapply thermal paste on the CPU every 1–2 years to maintain cooling efficiency.
✔ Keep dust filters and airflow optimized to reduce future buildup.
By following these cleaning steps, your PC will stay cool, quiet, and running at peak performance for years to come.