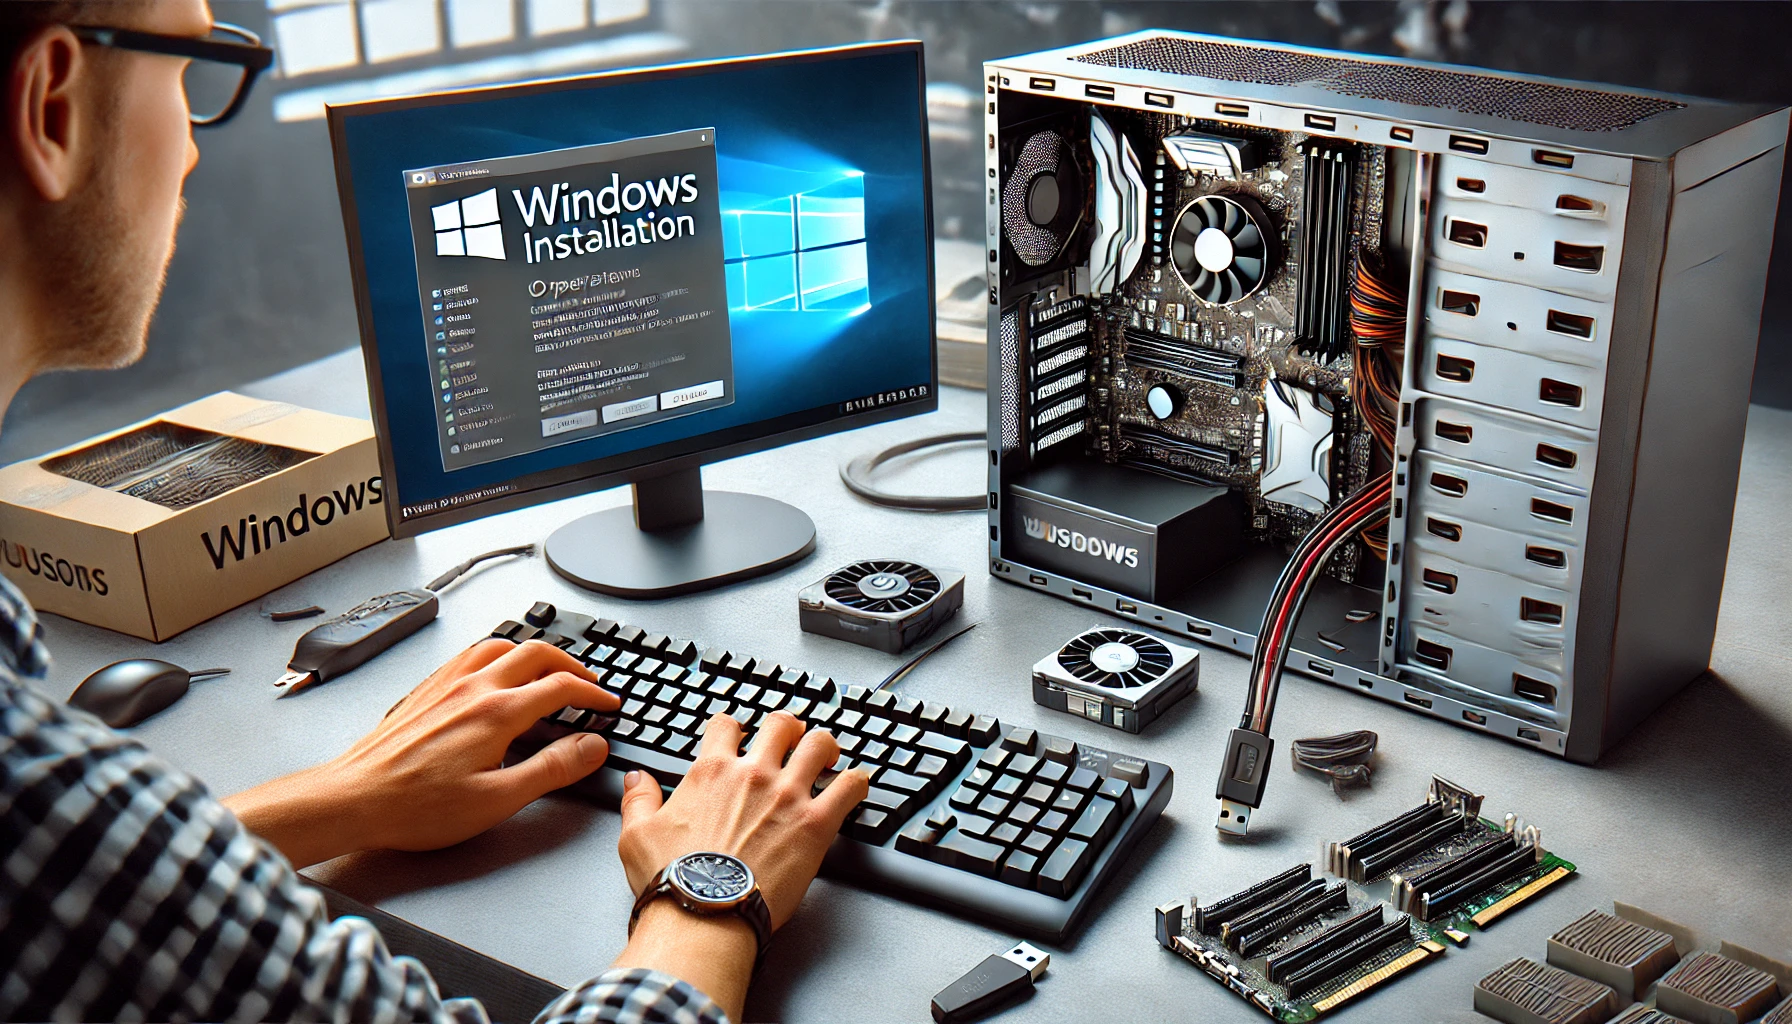
After assembling your PC, the next step is installing an operating system (OS) to bring your computer to life. The OS allows you to run applications, browse the internet, and manage files efficiently.
The most commonly used OS options are Windows, Linux, and macOS (for Hackintosh builds). In this guide, we’ll focus on installing Windows 11 and Linux step by step, ensuring a smooth and hassle-free setup.
1. Choosing the Right Operating System
Before installing an OS, decide which one best suits your needs.
✅ Windows 11 (or Windows 10) – Best for gaming, general use, and professional applications like Microsoft Office and Adobe software.
✅ Linux (Ubuntu, Fedora, Debian, etc.) – Ideal for programming, security, and open-source applications.
✅ macOS (Hackintosh Builds) – Requires specific hardware and advanced setup.
For most users, Windows 11 is the best choice due to its wide compatibility with software and games.
2. What You Need Before Installation
To install an OS, you’ll need:
✔ A USB flash drive (at least 8GB) – Used to create a bootable installer.
✔ A second working computer – To download and prepare the OS installer.
✔ A product key (for Windows users) – If activating Windows officially.
3. How to Install Windows 11
Step 1: Create a Bootable USB Drive
1️⃣ On another PC, download the Windows 11 Media Creation Tool from Microsoft’s official website.
2️⃣ Insert a USB flash drive (8GB or larger).
3️⃣ Run the Media Creation Tool and select “Create installation media.”
4️⃣ Follow the prompts and choose USB flash drive as the installation method.
5️⃣ Once done, remove the USB and insert it into your new PC.
Step 2: Boot from the USB Drive
1️⃣ Turn on your new PC and press the BIOS key (usually F2, F12, Del, or Esc) to enter BIOS/UEFI.
2️⃣ Go to the Boot Order settings and set the USB drive as the first boot device.
3️⃣ Save changes and restart the PC. It should boot from the Windows USB drive.
Step 3: Install Windows
1️⃣ When the Windows Setup screen appears, select language, time, and keyboard layout.
2️⃣ Click “Install Now.”
3️⃣ If prompted, enter a Windows product key or skip it to activate later.
4️⃣ Choose “Custom Install” and select your SSD as the installation destination.
5️⃣ Click Next, and Windows will begin installing.
Step 4: Complete the Windows Setup
1️⃣ Once installation is complete, your PC will restart.
2️⃣ Follow the on-screen instructions to set up your username, region, and network.
3️⃣ Choose whether to sign in with a Microsoft account or use an offline account.
4️⃣ Once inside Windows, install drivers and updates to ensure all hardware works properly.
4. How to Install Linux (Ubuntu as an Example)
Step 1: Download and Create a Bootable USB Drive
1️⃣ Download the latest Ubuntu ISO from the official Ubuntu website.
2️⃣ Use Rufus (Windows) or Etcher (Mac/Linux) to create a bootable USB drive.
3️⃣ Insert the USB into your new PC.
Step 2: Boot from USB and Install Linux
1️⃣ Enter BIOS/UEFI (press F2, F12, or Del) and set the USB as the first boot option.
2️⃣ Restart the PC, and Ubuntu’s installation menu should appear.
3️⃣ Select “Install Ubuntu.”
4️⃣ Choose your language and keyboard layout.
Step 3: Partition the Drive and Install
1️⃣ Select “Erase disk and install Ubuntu” (or manual partitioning for advanced users).
2️⃣ Follow the on-screen instructions and set a username and password.
3️⃣ Click “Install Now”, and Ubuntu will begin installing.
Step 4: Restart and Set Up Linux
1️⃣ Once the installation is complete, restart your PC and remove the USB drive.
2️⃣ Log in with your credentials and update the system using:
sudo apt update && sudo apt upgrade -y
3️⃣ Install additional drivers if needed, and your system is ready!
5. Installing Drivers and Updates
Once the OS is installed, update your drivers to ensure your hardware functions properly.
✅ Windows:
- Open Windows Update and install pending updates.
- Visit the motherboard manufacturer’s website to download chipset, audio, and network drivers.
- Install the latest GPU drivers from NVIDIA or AMD’s official websites.
✅ Linux:
- Run
sudo apt update && sudo apt upgrade(for Ubuntu/Debian). - Install proprietary drivers via “Additional Drivers” in settings.
6. Common Installation Issues and Fixes
❌ Windows won’t boot from USB?
✔ Recreate the bootable USB using Rufus and select GPT partition scheme.
❌ SSD or HDD not detected during installation?
✔ Check if your drive is properly connected.
✔ Enter BIOS and change SATA Mode to AHCI.
❌ Slow performance after installation?
✔ Install all drivers and updates.
✔ Enable XMP in BIOS to run RAM at full speed.
7. Final Steps: Customizing and Optimizing Your OS
✅ For Windows Users:
- Install essential programs (Google Chrome, VLC, Steam, etc.).
- Configure privacy settings in Windows.
✅ For Linux Users:
- Install missing software using
sudo apt install package-name. - Enable snap packages for additional apps.
By following these steps, you’ll have a fully functional PC ready for use!
Conclusion: A Smooth OS Installation for Your New PC
Installing an OS is the final step in building a computer. Whether you choose Windows or Linux, the process is straightforward when done correctly.
✔ Use a bootable USB drive for quick installation.
✔ Ensure BIOS settings are correct before installing.
✔ Update drivers and OS after installation for optimal performance.
✔ Customize your system with essential apps and settings.
With your new OS installed, your PC is ready for work, gaming, or creative tasks!