Building a gaming PC on a budget may seem challenging, but with the right strategy, you can create a powerful system without overspending. Whether you’re aiming for smooth 1080p gaming or entry-level 1440p performance, selecting the right components is key to getting the best value for your money.
This guide will walk you through building a budget gaming PC step by step, ensuring you get the most performance for every dollar spent.
1. Setting Your Budget and Goals
Before purchasing parts, determine:
- Your maximum budget (e.g., $500, $700, or $1,000).
- The games you want to play (e.g., esports titles, AAA games, or indie games).
- Target resolution and FPS (1080p at 60FPS or higher).
A well-planned budget prevents unnecessary spending while ensuring you get the best performance possible.
2. Choosing the Right Components
Processor (CPU) – Best Budget Options
A good gaming CPU provides a balance between performance and price.
✅ Best Budget CPUs:
- Intel Core i3-13100F (4 cores, 8 threads) – Great for 1080p gaming.
- AMD Ryzen 5 5500 (6 cores, 12 threads) – Solid multi-core performance for budget gaming.
- Intel Core i5-12400F (6 cores, 12 threads) – Best value for mid-range gaming.
Avoid high-end CPUs if gaming is your main focus; a budget or mid-tier CPU is enough for smooth performance.
Graphics Card (GPU) – The Most Important Component
A strong GPU is the key to smooth gaming. For budget builds, look for entry-level to mid-range graphics cards.
✅ Best Budget GPUs:
- NVIDIA GTX 1660 Super – Great for 1080p gaming at 60+ FPS.
- AMD Radeon RX 6600 – Excellent for esports and AAA games.
- Intel Arc A750 – Affordable with good ray tracing support.
- NVIDIA RTX 3050 – Offers DLSS for performance boosts in supported games.
For 1440p gaming, consider AMD RX 6700 XT or NVIDIA RTX 3060 Ti.
RAM – How Much Do You Need?
✅ Best Budget RAM Options:
- 16GB DDR4 (2x8GB) at 3200MHz – Ideal for gaming.
- 32GB only if you plan to stream or do heavy multitasking.
Avoid single-stick RAM configurations; dual-channel memory (2x8GB) improves performance.
Storage – SSD vs. HDD
✅ Best Budget Storage Options:
- 500GB NVMe SSD – Minimum for fast boot times and game loading.
- 1TB NVMe SSD – Best value for storing multiple games.
- Optional: 2TB HDD – For extra storage on a budget.
Always choose an SSD over an HDD for gaming performance. NVMe SSDs are much faster than SATA SSDs.
Motherboard – Affordable but Reliable
✅ Best Budget Motherboard Options:
- For Intel: B660 or B760 chipset motherboards.
- For AMD: B550 or B650 motherboards.
Ensure the motherboard:
- Supports your CPU and RAM speed.
- Has at least one M.2 slot for an NVMe SSD.
- Includes enough USB ports and expansion slots.
Power Supply (PSU) – Don’t Cheap Out!
✅ Recommended Budget PSUs:
- EVGA 500W 80+ Bronze – Entry-level but reliable.
- Corsair CX650M 80+ Bronze – Good for mid-range builds.
- Cooler Master MWE 600W 80+ Gold – Higher efficiency, better stability.
Make sure the PSU has enough power connectors for your GPU and is from a trusted brand.
PC Case – Airflow and Aesthetics Matter
Choose a case that:
- Supports your GPU length and motherboard size.
- Has good airflow (at least two fans included).
- Fits within your budget and style preference.
✅ Good Budget PC Cases:
- Cooler Master NR400 – Great airflow and compact size.
- Fractal Design Focus G – Budget-friendly with good cooling.
- NZXT H510 – Minimalist design but slightly pricier.
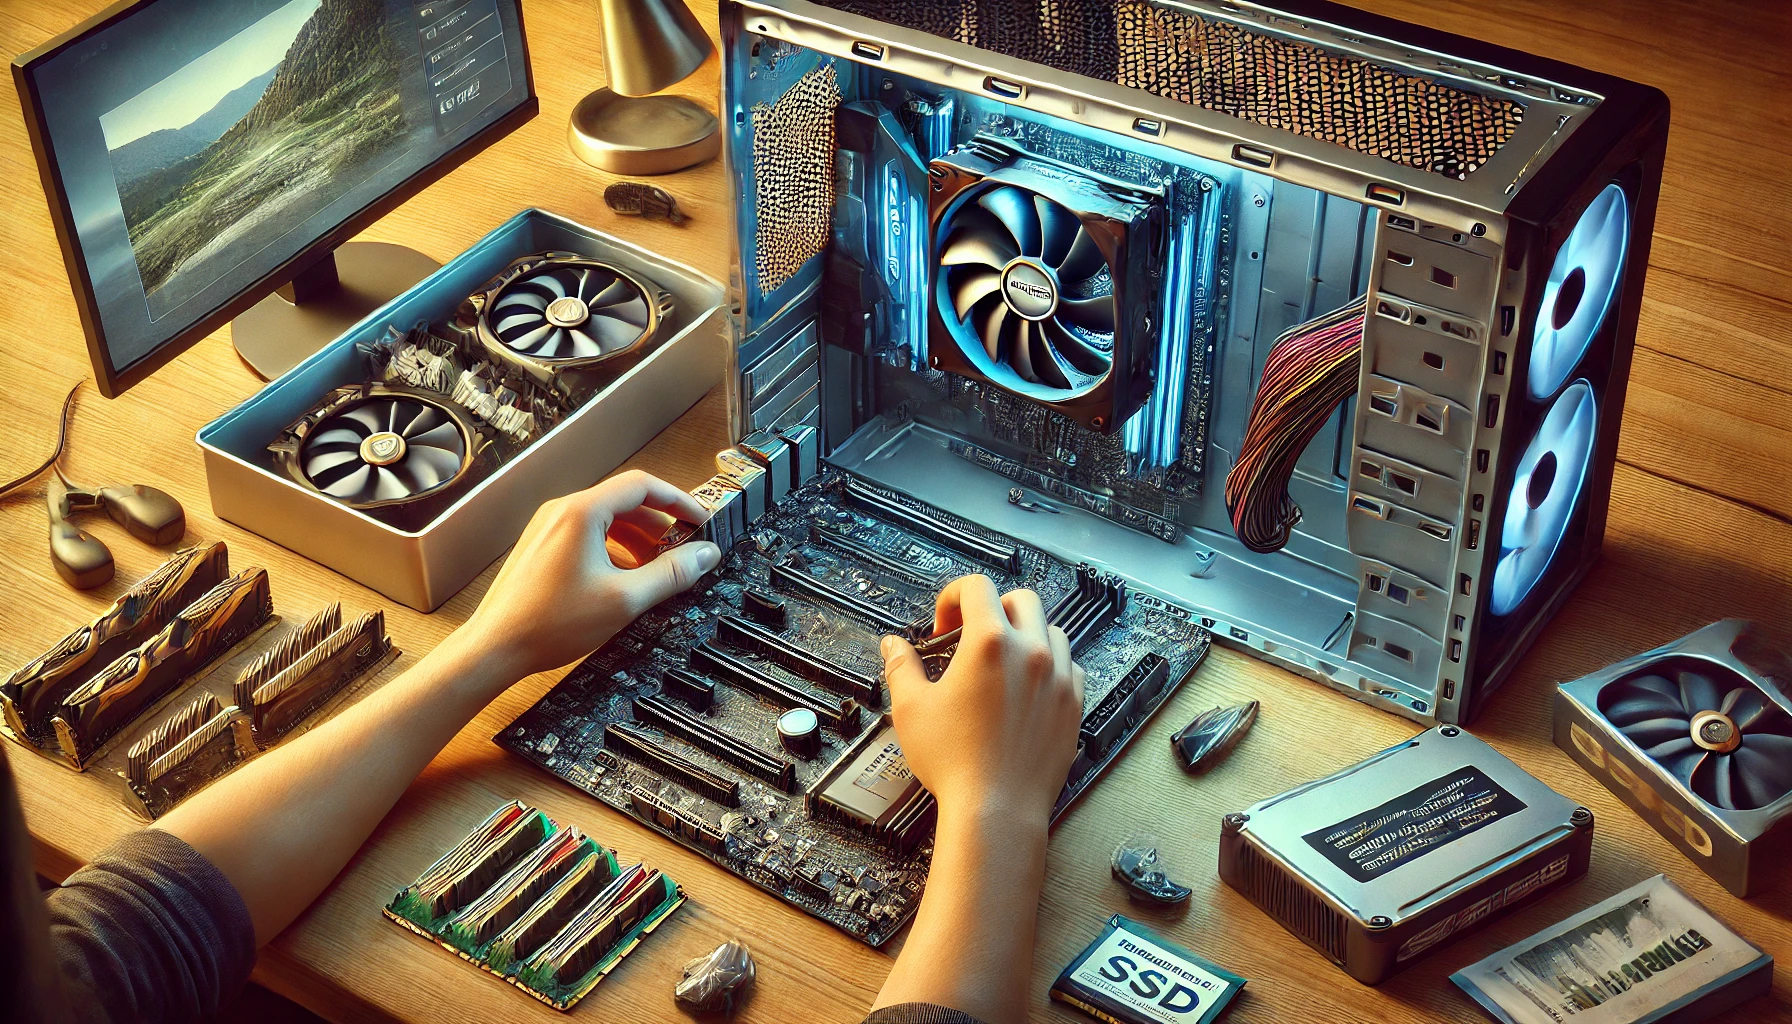
3. Building the PC – Step-by-Step
Step 1: Prepare Your Workspace
- Work on a clean surface.
- Use an anti-static wrist strap if possible.
Step 2: Install the CPU
- Align the CPU with the socket (AM4, AM5, or LGA 1700).
- Secure the CPU and attach the stock cooler or an aftermarket cooler.
Step 3: Install RAM
- Insert both RAM sticks into the correct slots for dual-channel operation.
Step 4: Install the Storage (SSD/HDD)
- Install an NVMe SSD in the motherboard’s M.2 slot.
- If using a SATA SSD or HDD, connect it to a SATA port.
Step 5: Install the Motherboard in the Case
- Secure the motherboard with screws.
- Connect front panel USB, audio, and power buttons.
Step 6: Install the Graphics Card
- Insert the GPU into the PCIe x16 slot.
- Secure it with screws and connect PCIe power cables from the PSU.
Step 7: Install the PSU
- Mount the PSU and connect 24-pin (motherboard), 8-pin (CPU), and PCIe cables (GPU).
Step 8: Organize Cables and Power On
- Use zip ties for better airflow and a clean look.
- Turn on the PC and enter the BIOS to check if all components are detected.
4. Installing the Operating System and Drivers
Installing Windows or Linux
- Use a USB flash drive with Windows 10/11 or Linux.
- Follow on-screen installation instructions.
Installing Drivers
- Download GPU drivers from NVIDIA, AMD, or Intel.
- Install motherboard drivers (chipset, audio, LAN, Wi-Fi).
5. Optimizing Your Budget Gaming PC
- Enable XMP/DOCP in BIOS to get full RAM speed.
- Adjust GPU settings in NVIDIA Control Panel or AMD Adrenalin.
- Use MSI Afterburner to monitor GPU temperatures and FPS.
6. Upgrading Your Budget PC in the Future
To extend the life of your build:
- Upgrade to a better GPU when prices drop.
- Add more RAM (16GB → 32GB) for improved multitasking.
- Switch to a larger SSD for more game storage.
Conclusion: A Powerful Gaming PC on a Budget
Building a budget gaming PC is about balancing performance and price. By choosing the right CPU, GPU, RAM, and storage, you can enjoy smooth gaming at 1080p without overspending.
Key takeaways:
✔ 16GB RAM and an NVMe SSD are must-haves.
✔ Prioritize the GPU for gaming performance.
✔ Don’t buy a cheap PSU—get a trusted brand.
✔ Look for deals and used parts to save money.
With smart part selection, you can build an affordable gaming PC that delivers amazing performance!