Building a PC is an exciting process, but electrical issues can damage components, cause malfunctions, or even create safety hazards. To ensure a smooth and safe build, you must take proper precautions to avoid short circuits, static electricity, power surges, and incorrect wiring.
This guide will cover common electrical issues when building a PC and how to prevent them for a safe and functional system.
1. Use a High-Quality Power Supply (PSU)
Your power supply unit (PSU) is the backbone of your PC’s electrical system. A low-quality or underpowered PSU can lead to voltage fluctuations, crashes, or hardware damage.
✅ How to Choose a Reliable PSU:
✔ Get an 80 PLUS certified PSU – Gold or Platinum is recommended for efficiency.
✔ Use a trusted brand like Corsair, Seasonic, EVGA, or ASUS ROG.
✔ Ensure proper wattage – Use a PSU calculator to determine your needs.
✔ Avoid cheap, unbranded PSUs – These can fail and damage components.
💡 Tip: If you are using a high-power GPU (RTX 4080, RTX 4090), ensure your PSU is at least 750W–1000W.
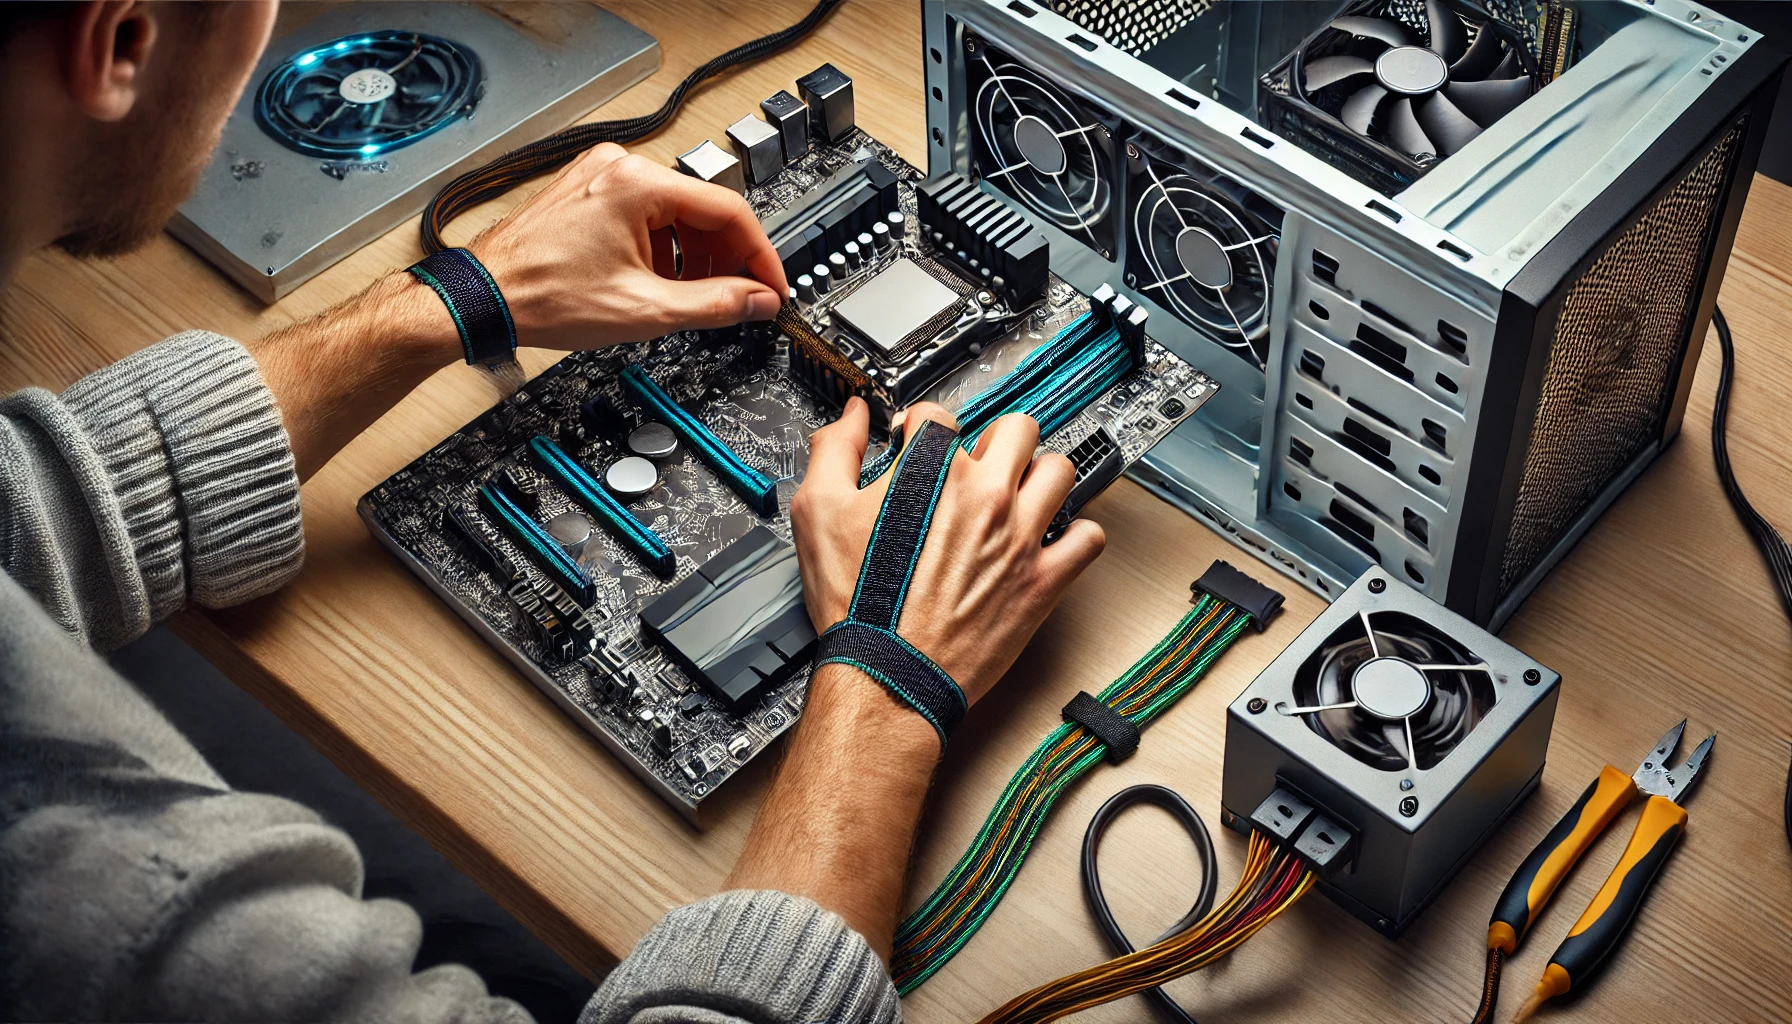
2. Prevent Static Electricity Damage (ESD Protection)
Static electricity can fry sensitive components like the motherboard, RAM, or CPU if not handled properly.
✅ How to Prevent Static Discharge:
✔ Use an anti-static wrist strap when handling components.
✔ Work on a non-carpeted surface (avoid building on carpets or rugs).
✔ Touch a metal part of the case before touching components to discharge static.
✔ Keep components in their anti-static bags until installation.
💡 Tip: If you don’t have an anti-static wrist strap, touch a grounded metal object frequently to discharge any static buildup.
3. Avoid Overloading Power Outlets
Using the wrong type of power source can result in power fluctuations, shutdowns, or even electrical fires.
✅ Safe Power Setup:
✔ Use a surge protector to protect against power spikes.
✔ Avoid plugging too many devices into the same outlet.
✔ Consider using an uninterruptible power supply (UPS) for extra protection.
💡 Tip: A UPS (Uninterruptible Power Supply) prevents sudden shutdowns during power outages, protecting your PC from damage.
4. Handle the Motherboard with Care
The motherboard is highly sensitive to electrical issues, and mishandling it can cause short circuits or complete failure.
✅ Motherboard Installation Tips:
✔ Do not place the motherboard directly on a metal surface.
✔ Use motherboard standoffs – Never screw it directly into the case.
✔ Check the motherboard manual for correct front panel wiring connections.
💡 Tip: Double-check all power cables (24-pin ATX, 8-pin CPU) before powering on the PC.
5. Correctly Install the CPU and RAM
Improper CPU and RAM installation can lead to boot failures or electrical issues.
✅ CPU Installation Tips:
✔ Check CPU socket type (Intel LGA or AMD AM4/AM5).
✔ Align the CPU correctly – Never force it into the socket.
✔ Apply thermal paste properly before installing the cooler.
✅ RAM Installation Tips:
✔ Use the correct RAM slots (Check the motherboard manual for dual-channel configuration).
✔ Push RAM sticks until they click into place.
✔ Enable XMP/DOCP in BIOS for optimal RAM performance.
💡 Tip: If your PC won’t boot after installing RAM, reseat the modules and try again.
6. Manage Cables to Prevent Shorts and Heat Issues
Poor cable management can obstruct airflow, create shorts, or make troubleshooting difficult.
✅ Cable Management Best Practices:
✔ Use zip ties or Velcro straps to organize cables.
✔ Route cables behind the motherboard tray to improve airflow.
✔ Ensure cables are not pressing against fans or components.
💡 Tip: Modular PSUs make cable management easier by allowing you to use only the necessary cables.
7. Test the PC Before Full Assembly
Before fully assembling the PC inside the case, it’s smart to perform a test boot.
✅ How to Test Your PC Before Final Assembly:
✔ Place the motherboard on a non-conductive surface (e.g., motherboard box).
✔ Install the CPU, RAM, and GPU.
✔ Connect the PSU and turn on the system to check for POST (Power-On Self-Test).
💡 Tip: If the PC doesn’t turn on, check power connections, RAM installation, and CPU compatibility.
8. Ensure Proper Cooling and Ventilation
Overheating can cause power-related issues and system instability.
✅ Cooling System Checklist:
✔ Use at least one intake and one exhaust fan for proper airflow.
✔ Ensure CPU and GPU coolers are installed properly.
✔ Monitor temperatures with software like HWMonitor or MSI Afterburner.
💡 Tip: If your PC shuts down under load, check CPU and GPU temperatures – overheating could be the cause.
9. Check for Loose Screws and Metal Objects
Loose metal objects inside your case can short-circuit components.
✅ Before Powering On Your PC:
✔ Check for any loose screws inside the case.
✔ Ensure no cables are pressing against fans or components.
✔ Double-check all power connections to avoid loose plugs.
💡 Tip: If you hear sparking or smell burning, turn off your PC immediately and inspect for issues.
10. Verify BIOS Settings and System Stability
After assembling the PC, you should check BIOS settings and run stability tests.
✅ Post-Build Setup:
✔ Enter BIOS and check hardware detection (CPU, RAM, storage).
✔ Enable XMP for RAM and set boot priority.
✔ Run stress tests (Prime95, Cinebench) to check stability.
💡 Tip: If your PC crashes frequently, check PSU stability, RAM compatibility, and cooling efficiency.
Conclusion: Build a Safe and Reliable PC
✔ Use a high-quality PSU and surge protector.
✔ Prevent static electricity by using an anti-static wrist strap.
✔ Install the motherboard correctly with standoffs.
✔ Ensure proper CPU, RAM, and cooling installation.
✔ Test the system before full assembly to check for issues.
By following these safety precautions, you can build a stable and efficient PC without electrical issues.