A well-organized PC case improves airflow, aesthetics, and accessibility for upgrades or maintenance. Poor cable management can lead to overheating, dust buildup, and difficulty troubleshooting issues.
This guide will walk you through how to properly manage cables inside your PC case, whether you’re building a new computer or tidying up an existing setup.
1. Why Is Cable Management Important?
Organizing cables inside your PC isn’t just about looks—it plays a crucial role in performance and maintenance.
✅ Benefits of Proper Cable Management:
✔ Improved airflow – Prevents cables from blocking fans and cooling components.
✔ Easier maintenance – Makes upgrading and cleaning your PC simpler.
✔ Better aesthetics – Creates a clean and professional look.
✔ Reduced dust accumulation – Minimizes areas where dust can settle.
✔ Safer connections – Prevents loose cables from disconnecting or getting damaged.
If cables are messy, they can block airflow and cause overheating, leading to performance drops and reduced hardware lifespan.
2. Tools You’ll Need for Cable Management
Before organizing your cables, gather the right tools for a clean and efficient setup.
✅ Essential Tools:
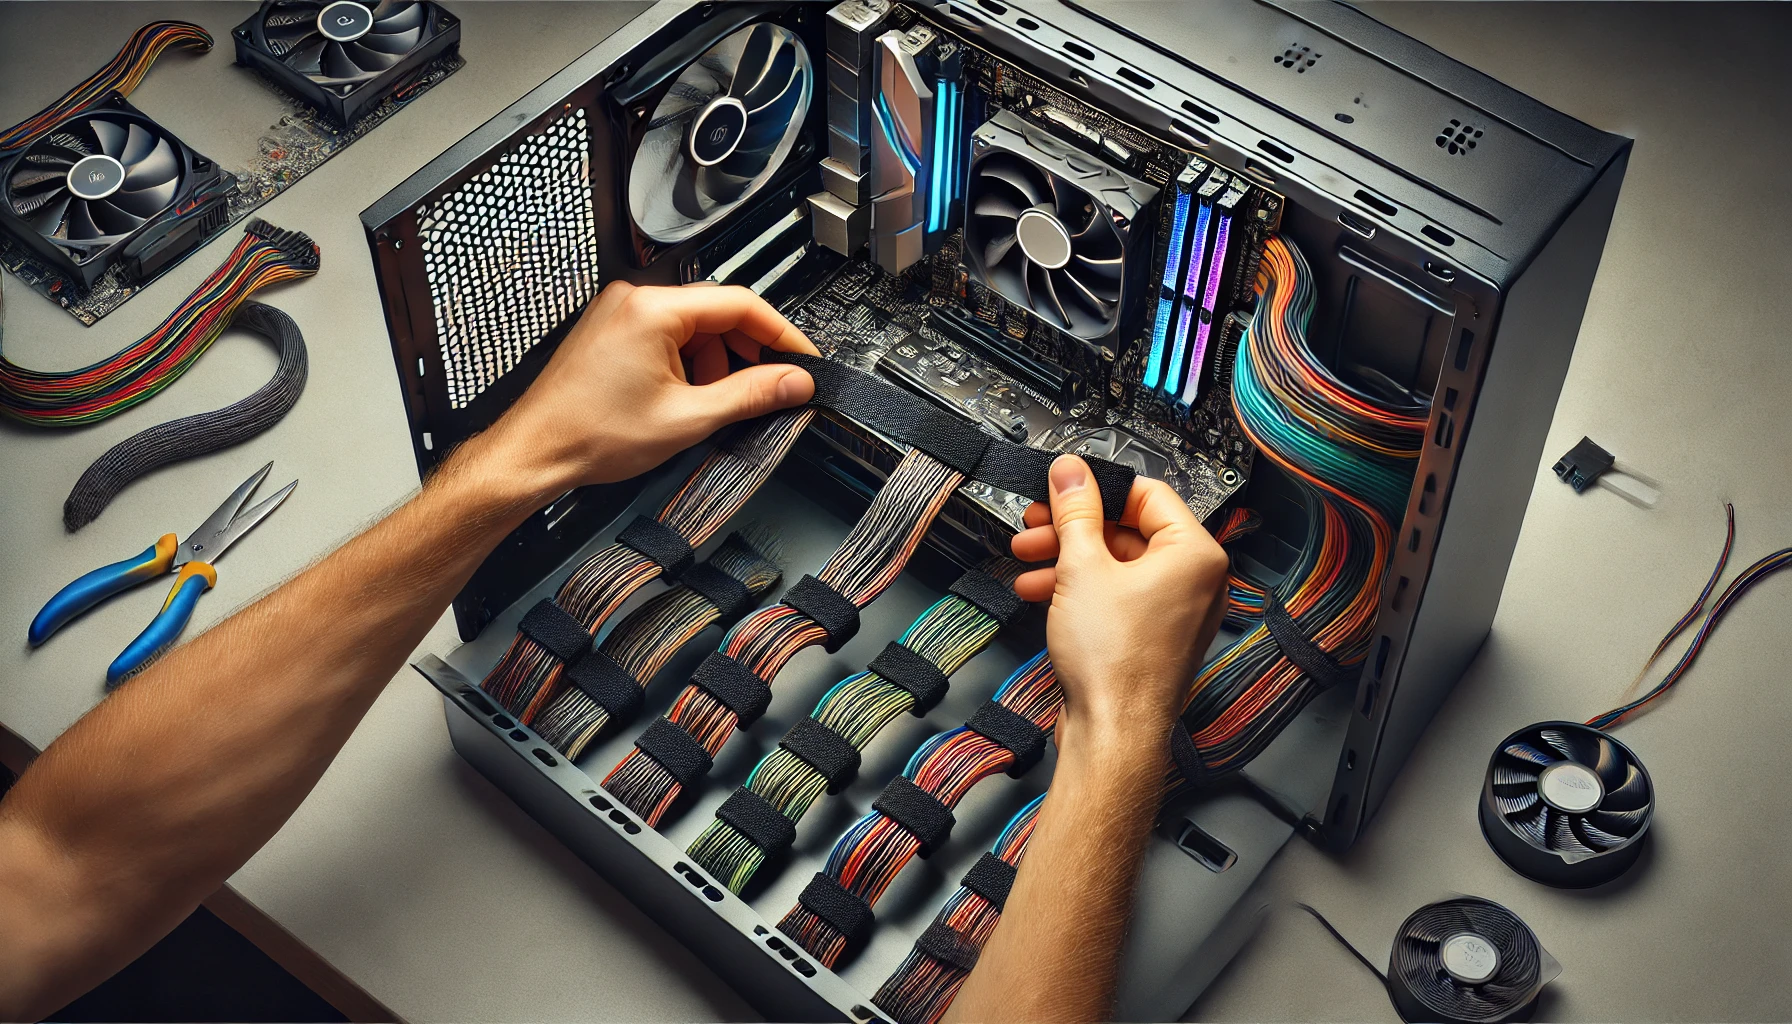
✔ Zip ties or Velcro straps – Keeps cables secured in place.
✔ Cable combs or guides – Helps neatly route multiple cables.
✔ Cable clips or adhesive mounts – Holds cables along case edges.
✔ Cable extensions or custom sleeved cables – Helps achieve a cleaner look.
✔ Side-cutting pliers or scissors – For trimming excess zip ties.
Using Velcro straps instead of zip ties is recommended because they are adjustable and reusable.
3. Planning Your Cable Routing Before Installation
Before plugging in components, plan where each cable will go to avoid clutter.
✅ Pre-Installation Tips:
✔ Choose a case with good cable management features (routing holes, PSU shroud).
✔ Identify cable routing paths behind the motherboard tray.
✔ Group similar cables together (power cables, fan cables, data cables).
✔ Measure cable lengths to avoid excess slack inside the case.
If your case has rubber grommets and cable channels, use them to guide cables for a cleaner setup.
4. Organizing Power Supply Cables (PSU)
The power supply unit (PSU) cables are usually the messiest, so managing them properly is key.
✅ Best Practices for PSU Cable Management:
✔ Use a modular PSU – This lets you attach only the cables you need.
✔ Route cables behind the motherboard tray to keep them out of sight.
✔ Secure thick cables first (24-pin motherboard and CPU cables).
✔ Bundle excess cables inside the PSU shroud or a drive bay.
If your PSU is non-modular, you may need extra zip ties to secure unused cables.
5. Managing GPU and Motherboard Cables
The GPU and motherboard power cables are some of the most visible inside your case.
✅ Tips for GPU and Motherboard Cables:
✔ Run the 24-pin motherboard cable through a side routing hole.
✔ For GPU power cables, route them from behind the case to keep them tidy.
✔ Use cable extensions for a sleeker look, especially in custom builds.
For multi-GPU setups, route each cable neatly through separate holes to avoid clutter.
6. Organizing Fan and RGB Cables
Fan and RGB cables are thin but can create cable clutter if not managed well.
✅ How to Manage Fan & RGB Cables:
✔ Connect all fans to a fan hub (if available) to reduce multiple cables.
✔ Use daisy-chaining for RGB and ARGB fans to minimize connections.
✔ Route cables along the edges of the case and secure them with clips.
RGB lighting setups can add many extra cables, so planning ahead is important for a clean look.
7. Managing SATA and Front Panel Cables
Storage and front panel cables are usually thin but can become tangled.
✅ How to Organize SATA and Front Panel Cables:
✔ Route SATA cables behind the motherboard tray to keep them hidden.
✔ Use right-angle SATA connectors for better routing in tight spaces.
✔ Keep front panel connectors bundled and run them neatly to the motherboard.
If your case has USB-C or HD audio connectors, ensure they are routed cleanly to avoid blocking airflow.
8. Securing Cables for a Professional Look
Once all cables are routed, secure them properly to keep everything neat and organized.
✅ Final Cable Management Steps:
✔ Use Velcro straps or zip ties to bundle cables together.
✔ Tuck excess cable slack into the PSU shroud or drive bays.
✔ Make sure cables are not pressing against fan blades.
✔ Close the side panel carefully, ensuring no cables are pinched.
If you have tempered glass side panels, well-organized cables will make your build look more professional.
9. Common Cable Management Mistakes to Avoid
Even with good planning, some common mistakes can ruin cable organization.
❌ Messy Cable Routing – Running cables randomly without a plan.
❌ Blocking Airflow – Placing cables in front of fans or vents.
❌ Over-Tightening Zip Ties – Can damage cables and make adjustments harder.
❌ Not Using Cable Management Features – Ignoring grommets, routing holes, or shrouds.
❌ Leaving Too Much Slack – Excess cables hanging loosely inside the case.
Avoiding these mistakes ensures a cleaner and more efficient build.
10. Maintaining Cable Management Over Time
After organizing cables, periodic maintenance is key to keeping them tidy.
✅ How to Maintain Cable Management:
✔ Recheck cable ties every few months, especially after upgrades.
✔ Clean dust regularly to prevent buildup in cable routing areas.
✔ Label cables if you plan on swapping components in the future.
Good cable management makes future upgrades easier and your system more visually appealing.
Conclusion: Achieving a Clean and Organized PC Build
✔ Plan your cable routing before installation to avoid clutter.
✔ Use Velcro straps and routing holes to keep cables neat.
✔ Organize PSU, GPU, fan, and SATA cables separately for better airflow.
✔ Avoid common mistakes like blocking airflow or over-tightening ties.
✔ Maintain your cable management over time to keep your PC looking clean.
By following these steps, you’ll have a well-organized PC that looks great and runs efficiently.